Inktober 2019, Day 10, “Pattern”
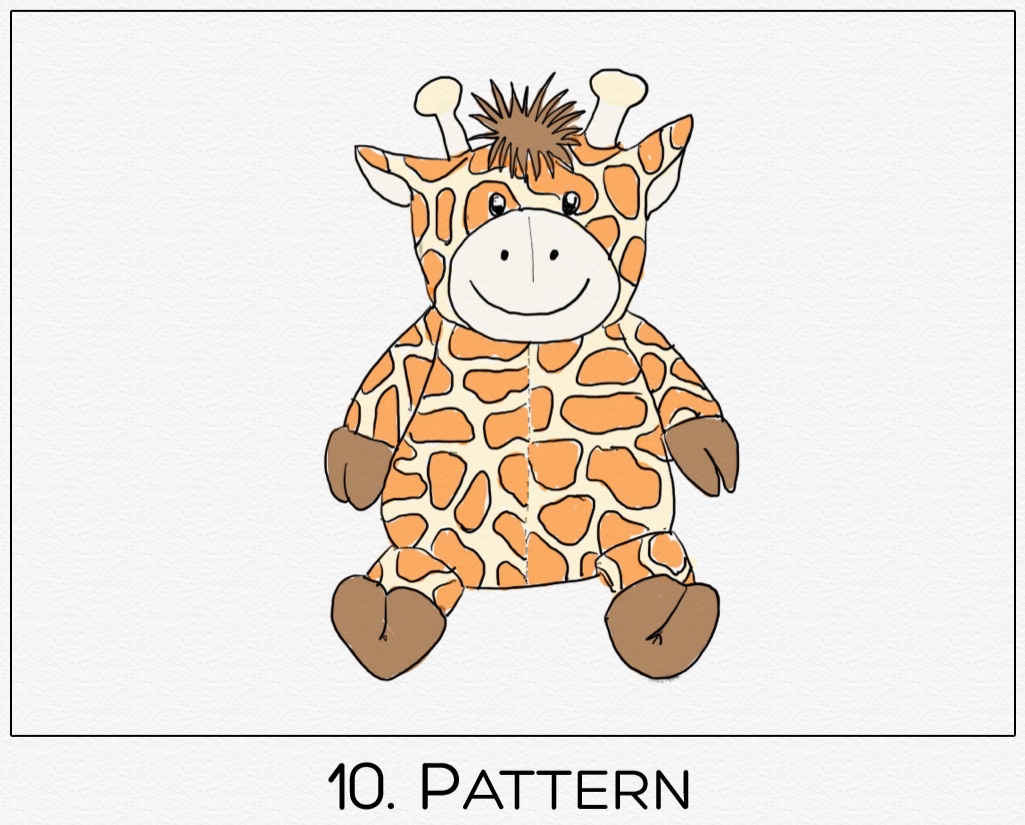
Inktober 2019, Day 10, “Pattern”
I love the planning stages of a new app, but BY GOLLY is it difficult to move from that to selecting New –> Project in Xcode. Feels like I could just research and plan forever.
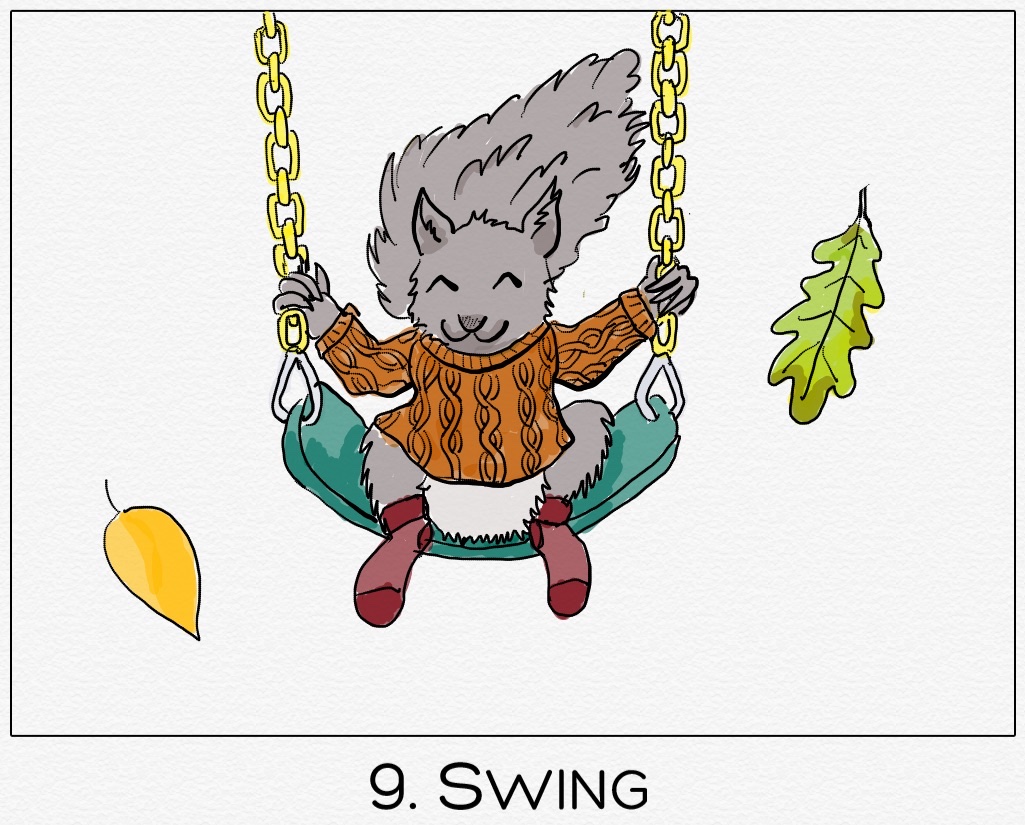
Inktober 2019, Day 9, “Swing”
When I draw without reference material, things tend to get a little silly.
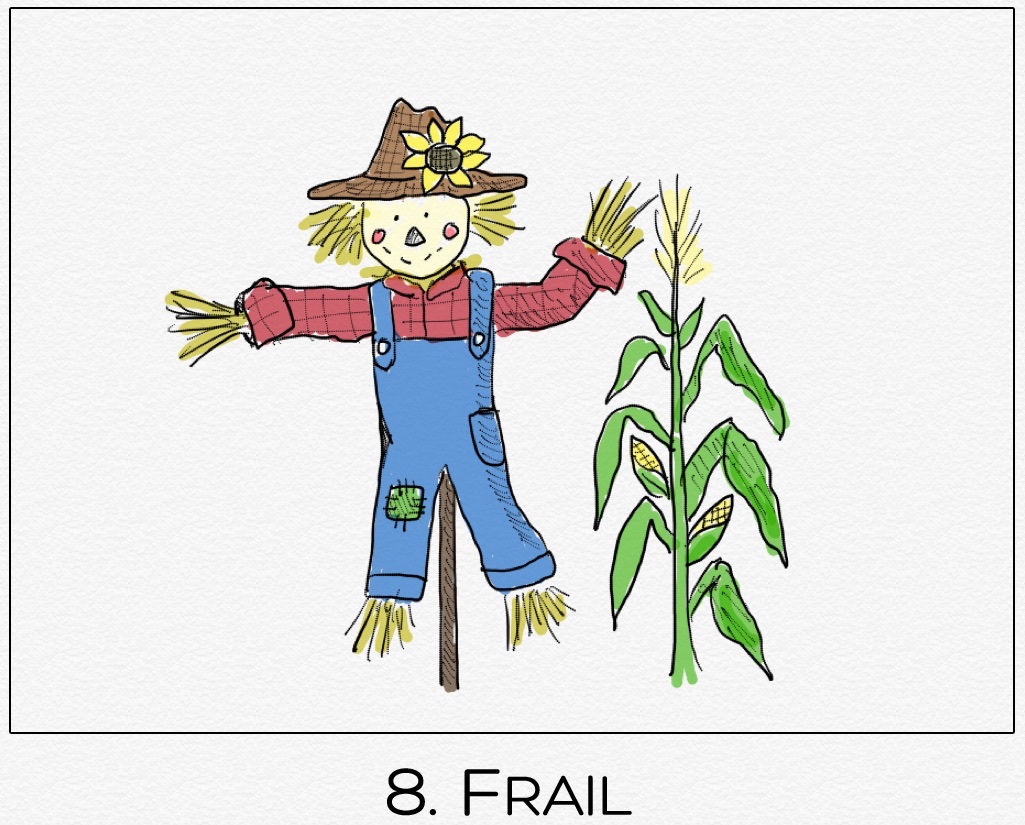
Inktober 2019, Day 8, “Frail”
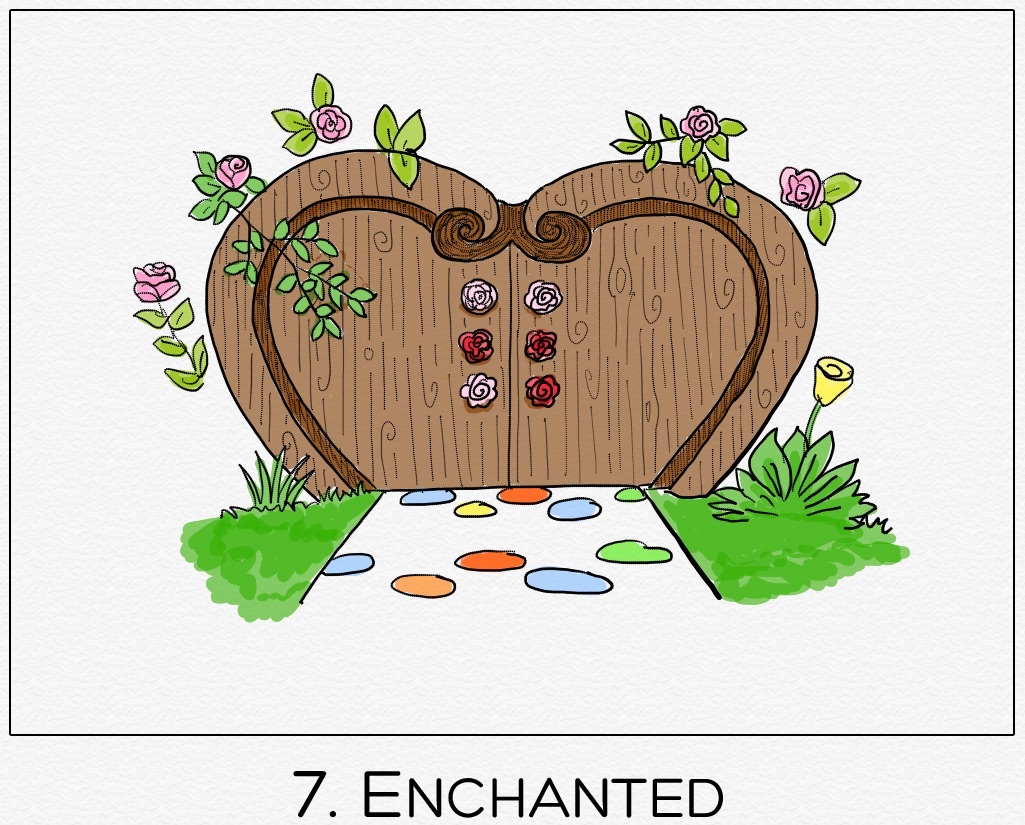
Inktober 2019, Day 7, “Enchanted”
If, like me, you have toddlers/preschool-aged children, you’ll probably recognize the entrance to the Enchanted Garden from Daniel Tiger’s Neighborhood. ??
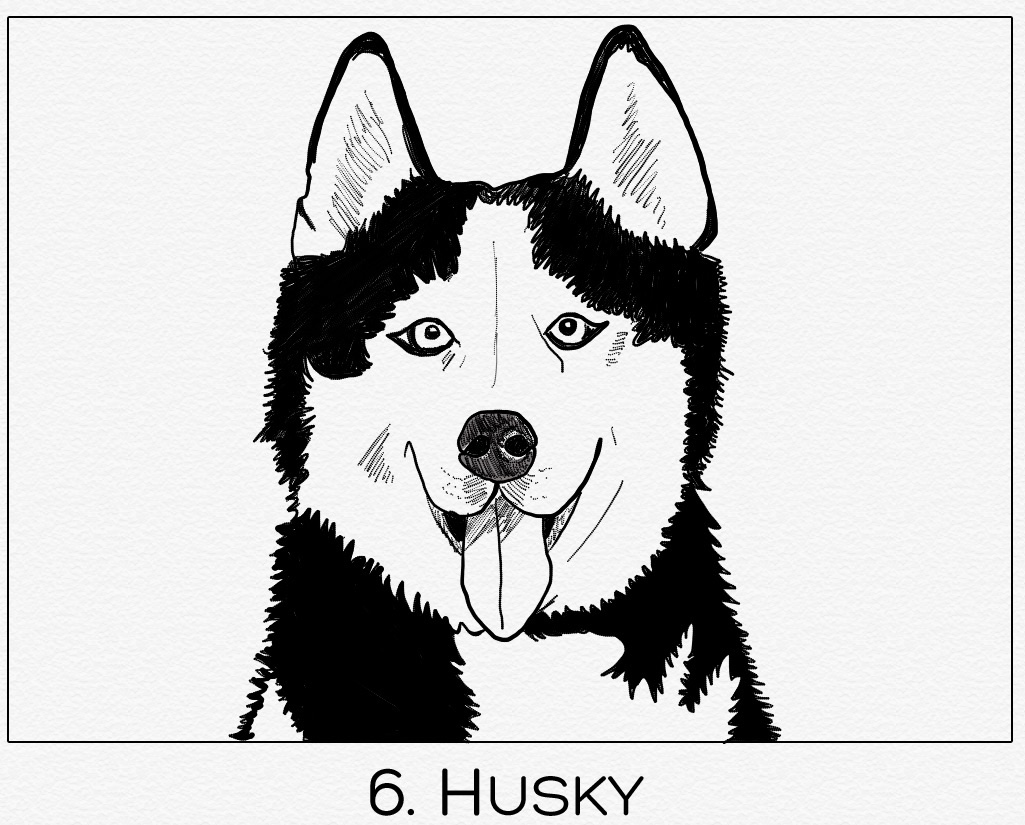
Inktober 2019, Day 6, “Husky”
Inktober 2019, Day 5, “Build”
I freely admit to cheating on this one: I traced a photo of Charlie playing with his blocks. :)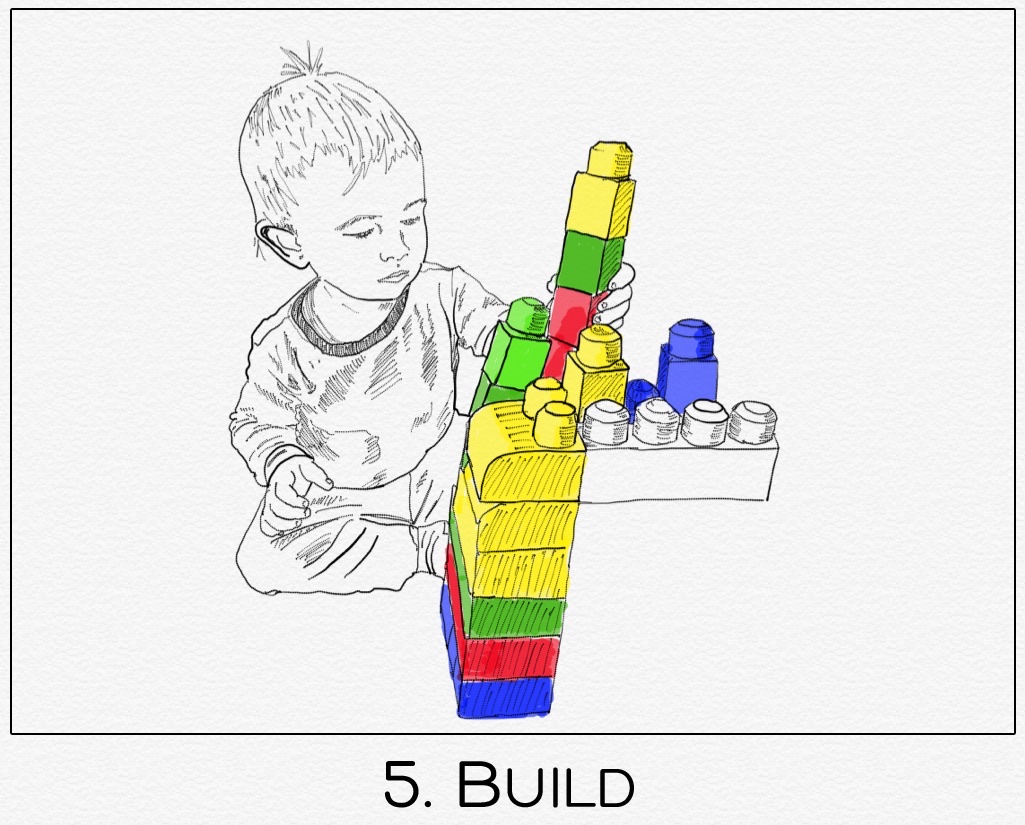
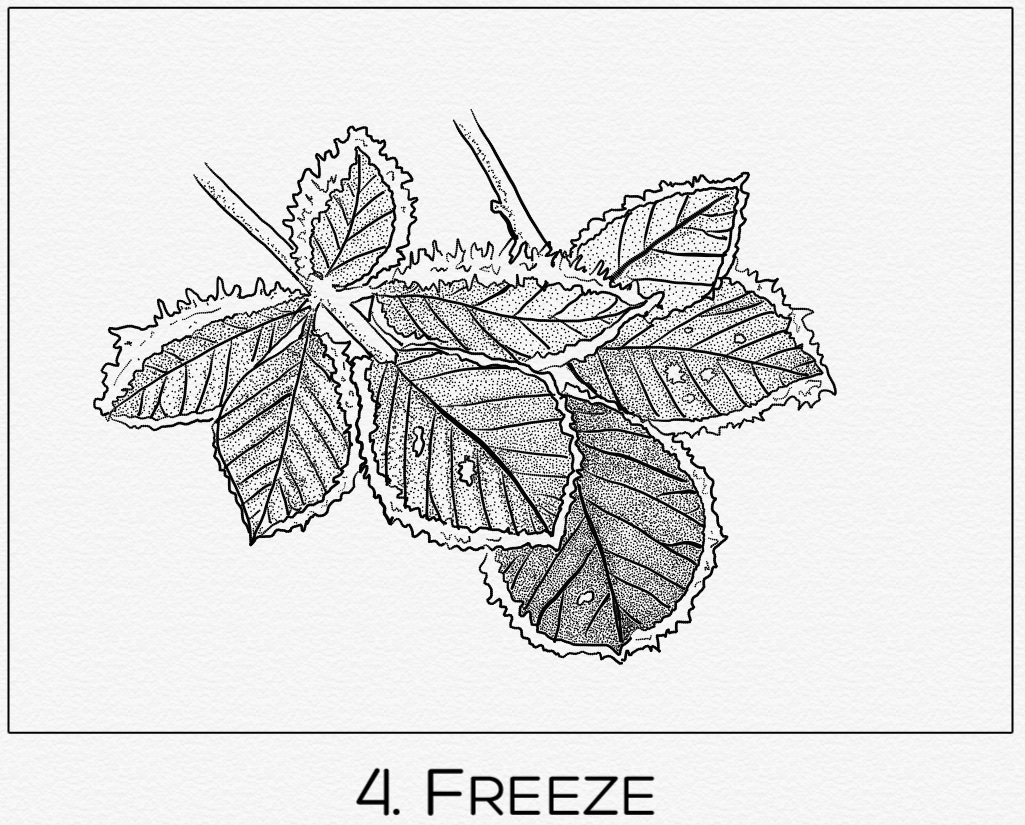
Inktober 2019, Day 4, “Freeze”
(I don’t know anything about stippling; it just sounded relaxing.)
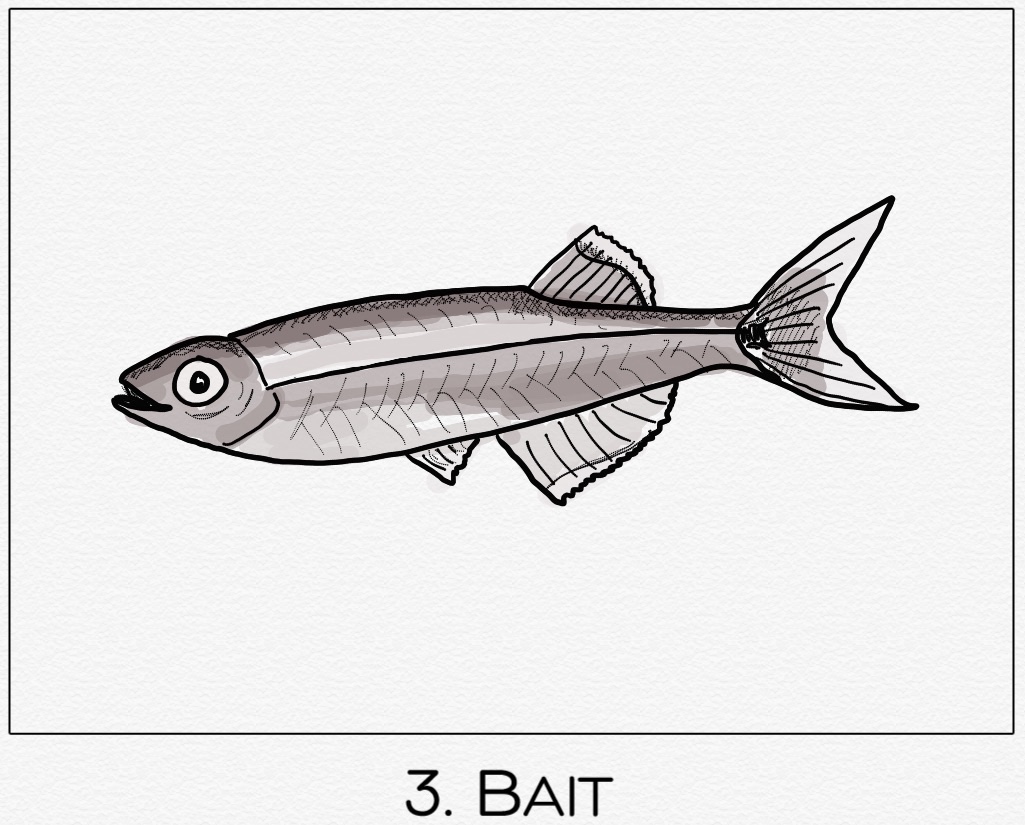
Inktober 2019, Day 3, “Bait”
My grandpa used to take us grandkids fishing for minnows like this. We’d use them as bait while trolling for white perch on the lake in Maine. Those were some of my absolute favorite times.
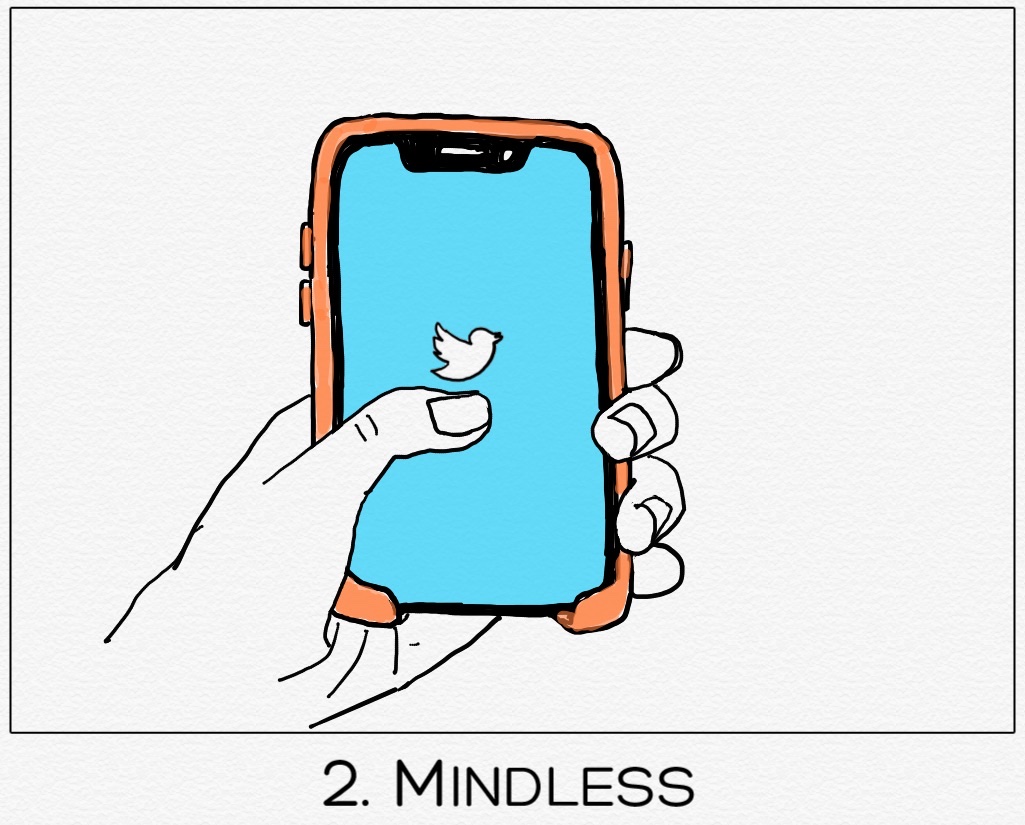
Inktober 2019, Day 2, “Mindless”
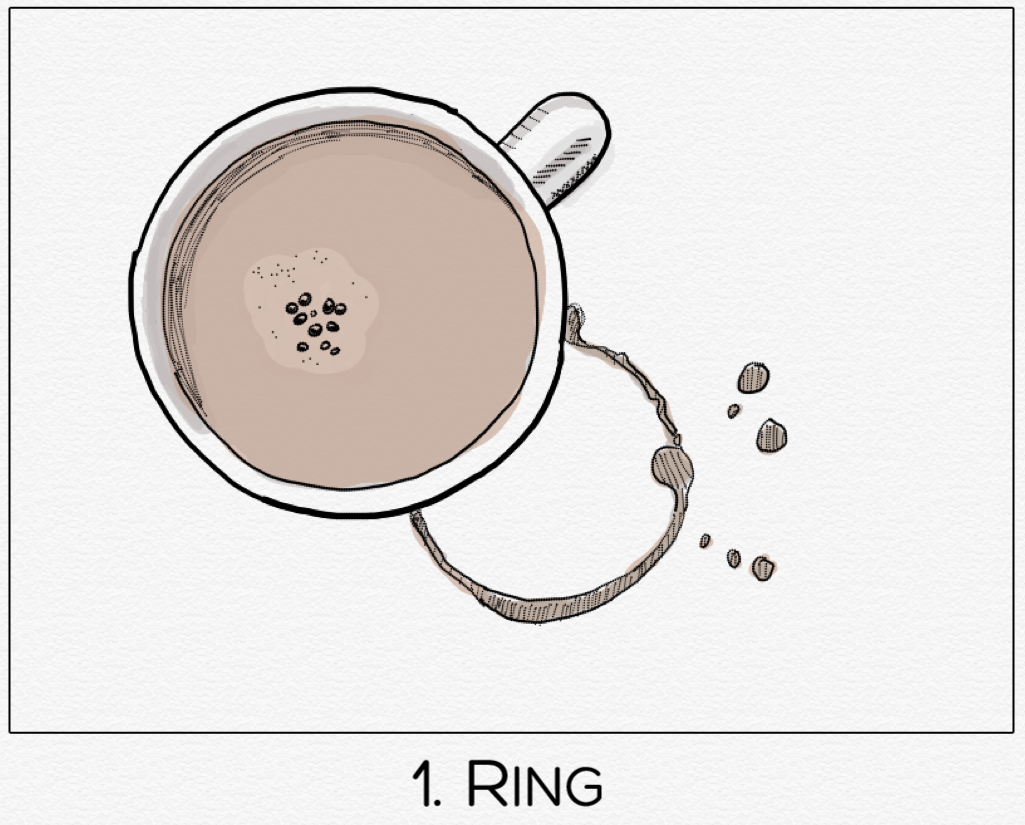
Inktober 2019, Day 1, “Ring”
tl;dr: The iPhone 11 Pro does a great job detecting animal faces, but struggles with ears, whiskers, and lots of fluff against complex backgrounds. HDR processing also causes bright white fur to look unnatural.
So, I bought an iPhone 11 Pro. It arrived around noon yesterday, and after updating it to iOS 13.1 beta 4, erasing it, and restoring it from an iTunes backup, I was finally able to head outside and test its impressive new camera system. And while my kids had no interest in sitting still for a portrait, I found my two farm kittens and corgi to be surprisingly willing subjects.
All three animals have patches of bright white fur. Because of the way HDR processing affects highlights and shadows, it tends to make white fur look odd…almost metallic? Anyway, the effect is easily mitigated in post by boosting highlights, but I wanted to post all of these shots completely unedited so you could see what I mean.
First up is Stripey Stripe (named by a 4-year-old girl who insisted the name not be changed). I call her Stripey for short.


As you can see, the edge detection is pretty murky around and between her ears. The photo on the right also came out weirdly dark and flat despite there being plenty of light. However, the detail in the fur is still pretty impressive, and when you toggle through the different Portrait Lighting effects, it properly lights her face instead of the whole scene. Stripey’s photos came out the worst, so let’s move on to my corgi, Daisy.


The portrait mask is better here, capturing the edges of her ears and at least somewhat gracefully dealing with the fluff on her belly. Here you can really see the effect of the HDR processing on white fur, making it look flat and gray. As an aside: it made me smile to see the little yellow box appear around Daisy’s face. It tracked well, too, even as she moved her head quickly to watch a squirrel scurry up a tree. A bonus photo:

Finally, we have Whitey White (yeah…named by the same little girl, lol).


I love these photos. Again, Whitey’s fur needs a major white point boost, but the crispness of the tree roots and foliage blows me away. This camera’s capabilities far exceed my iPhone X’s. For me, these improvements coupled with the new ultra wide lens and wider apertures definitely make it worth the upgrade.
A number of new font-management APIs were announced at WWDC 2019, including a standard system font picker for iOS and Catalyst apps (finally!). The session Font Management and Text Scaling covers the new APIs in detail; however, the sample code only exists on the slides and the documentation is currently very sparse. I thought it might be helpful to write out the sample code in a blog post, along with a little explanation.
UIFontPickerViewController is a customizable system font picker that, by default, has the following configuration:
To change these defaults, you can create a configuration object, initialize the font picker, and present it like so:
let config = UIFontPickerViewController.Configuration()
config.includeFaces = true
let fontPickerViewController = UIFontPickerViewController(configuration: config)
fontPickerViewController.delegate = self
self.present(fontPickerViewController, animated: true)
To display all font names using the system font, set displayUsingSystemFont to true.
You can also filter the font list by supplying an array of symbolic traits. For example, to display only monospaced fonts, you would do something like this:
let traits = UIFontDescriptor.SymbolicTraits(arrayLiteral: [.traitMonoSpace])
config.filteredTraits = traits
There are two delegate methods that allow you to control what happens after a user chooses a font or cancels font selection.
extension MyCustomViewController: UIFontPickerViewControllerDelegate {
    func fontPickerViewControllerDidPickFont(_ viewController: UIFontPickerViewController) {
        guard let fontDescriptor = viewController.selectedFontDescriptor else { return }
        let font = UIFont(descriptor: fontDescriptor, size: 48.0)
        textView.font = font
    }

    func fontPickerViewControllerDidCancel(_ viewController: UIFontPickerViewController) {
        print("User selected cancel.")
    }
}
Finally, if you want to display user-installed fonts, you need to add an entitlement to your app. In Xcode 11, go to your project settings, tap “Signing and Capabilities,” and add a new capability called “Fonts.” Under the Fonts entitlement are two options next to “Privileges.” Check the box by “Use Installed Fonts” to indicate that you want your app to read fonts that were installed by other apps.
31 New Features in Camera & Photos in iOS 13
Gadget Hacks has a really great roundup of everything new that’s photo-related in iOS 13. I don’t remember ever hearing about numbers 12, 26 and 27.
I love this: you can now set the opening animation from Tuesday’s keynote as a screensaver on your Mac, thanks to Sai Kambampati.